
Pin on Star Wars
Lightsaber hilts were the basic, all-encompassing part of a lightsaber. A combination handgrip, blade emitter, activator switch and power source, it held within the inner workings of the weapon that allowed it to produce its distinctive energy-based blade. The first hilts were produced as early as the advent of the lightsaber itself, approximately 15,500 BBY; though cumbersome and requiring a.

How to Draw a Lightsaber Really Easy Drawing Tutorial in 2022 Easy drawings, Lightsaber
Designed By:Sabine Caesar In this easy tutorial, we'll show you how to draw a lightsaber, using basic shapes and easy strokes. We'll make it super easy for you to follow, with helpful tips and step-by-step instructions. Grab your pen or pencil and get ready to draw! Let's begin! Materials Needed: Paper Pencil Eraser Coloring Supplies Perfect For:
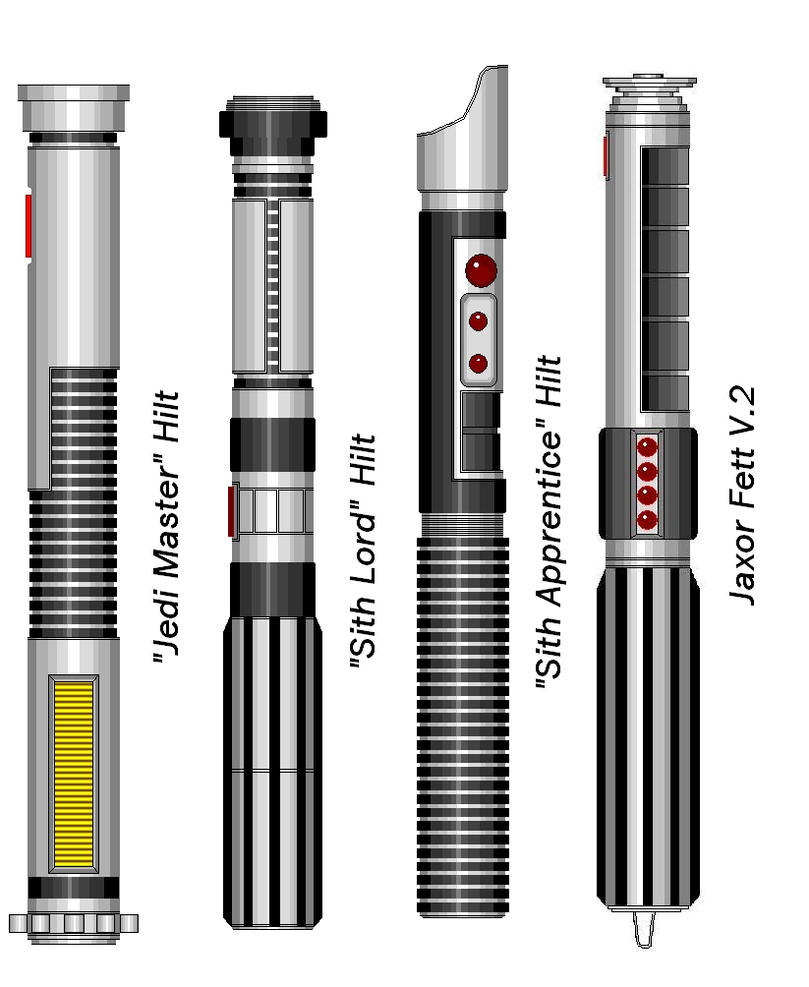
Lightsaber Hilts by me Vol 2 by CorranKatarn on DeviantArt
1. Begin by drawing a straight line. This will form one side of the lightsaber's glowing blade. Easy Lightsaber Drawing - Step 2 2. Draw another straight line parallel to the first, forming the opposite side of the blade.
Lightsaber Hilts 2 by moat9bass on DeviantArt
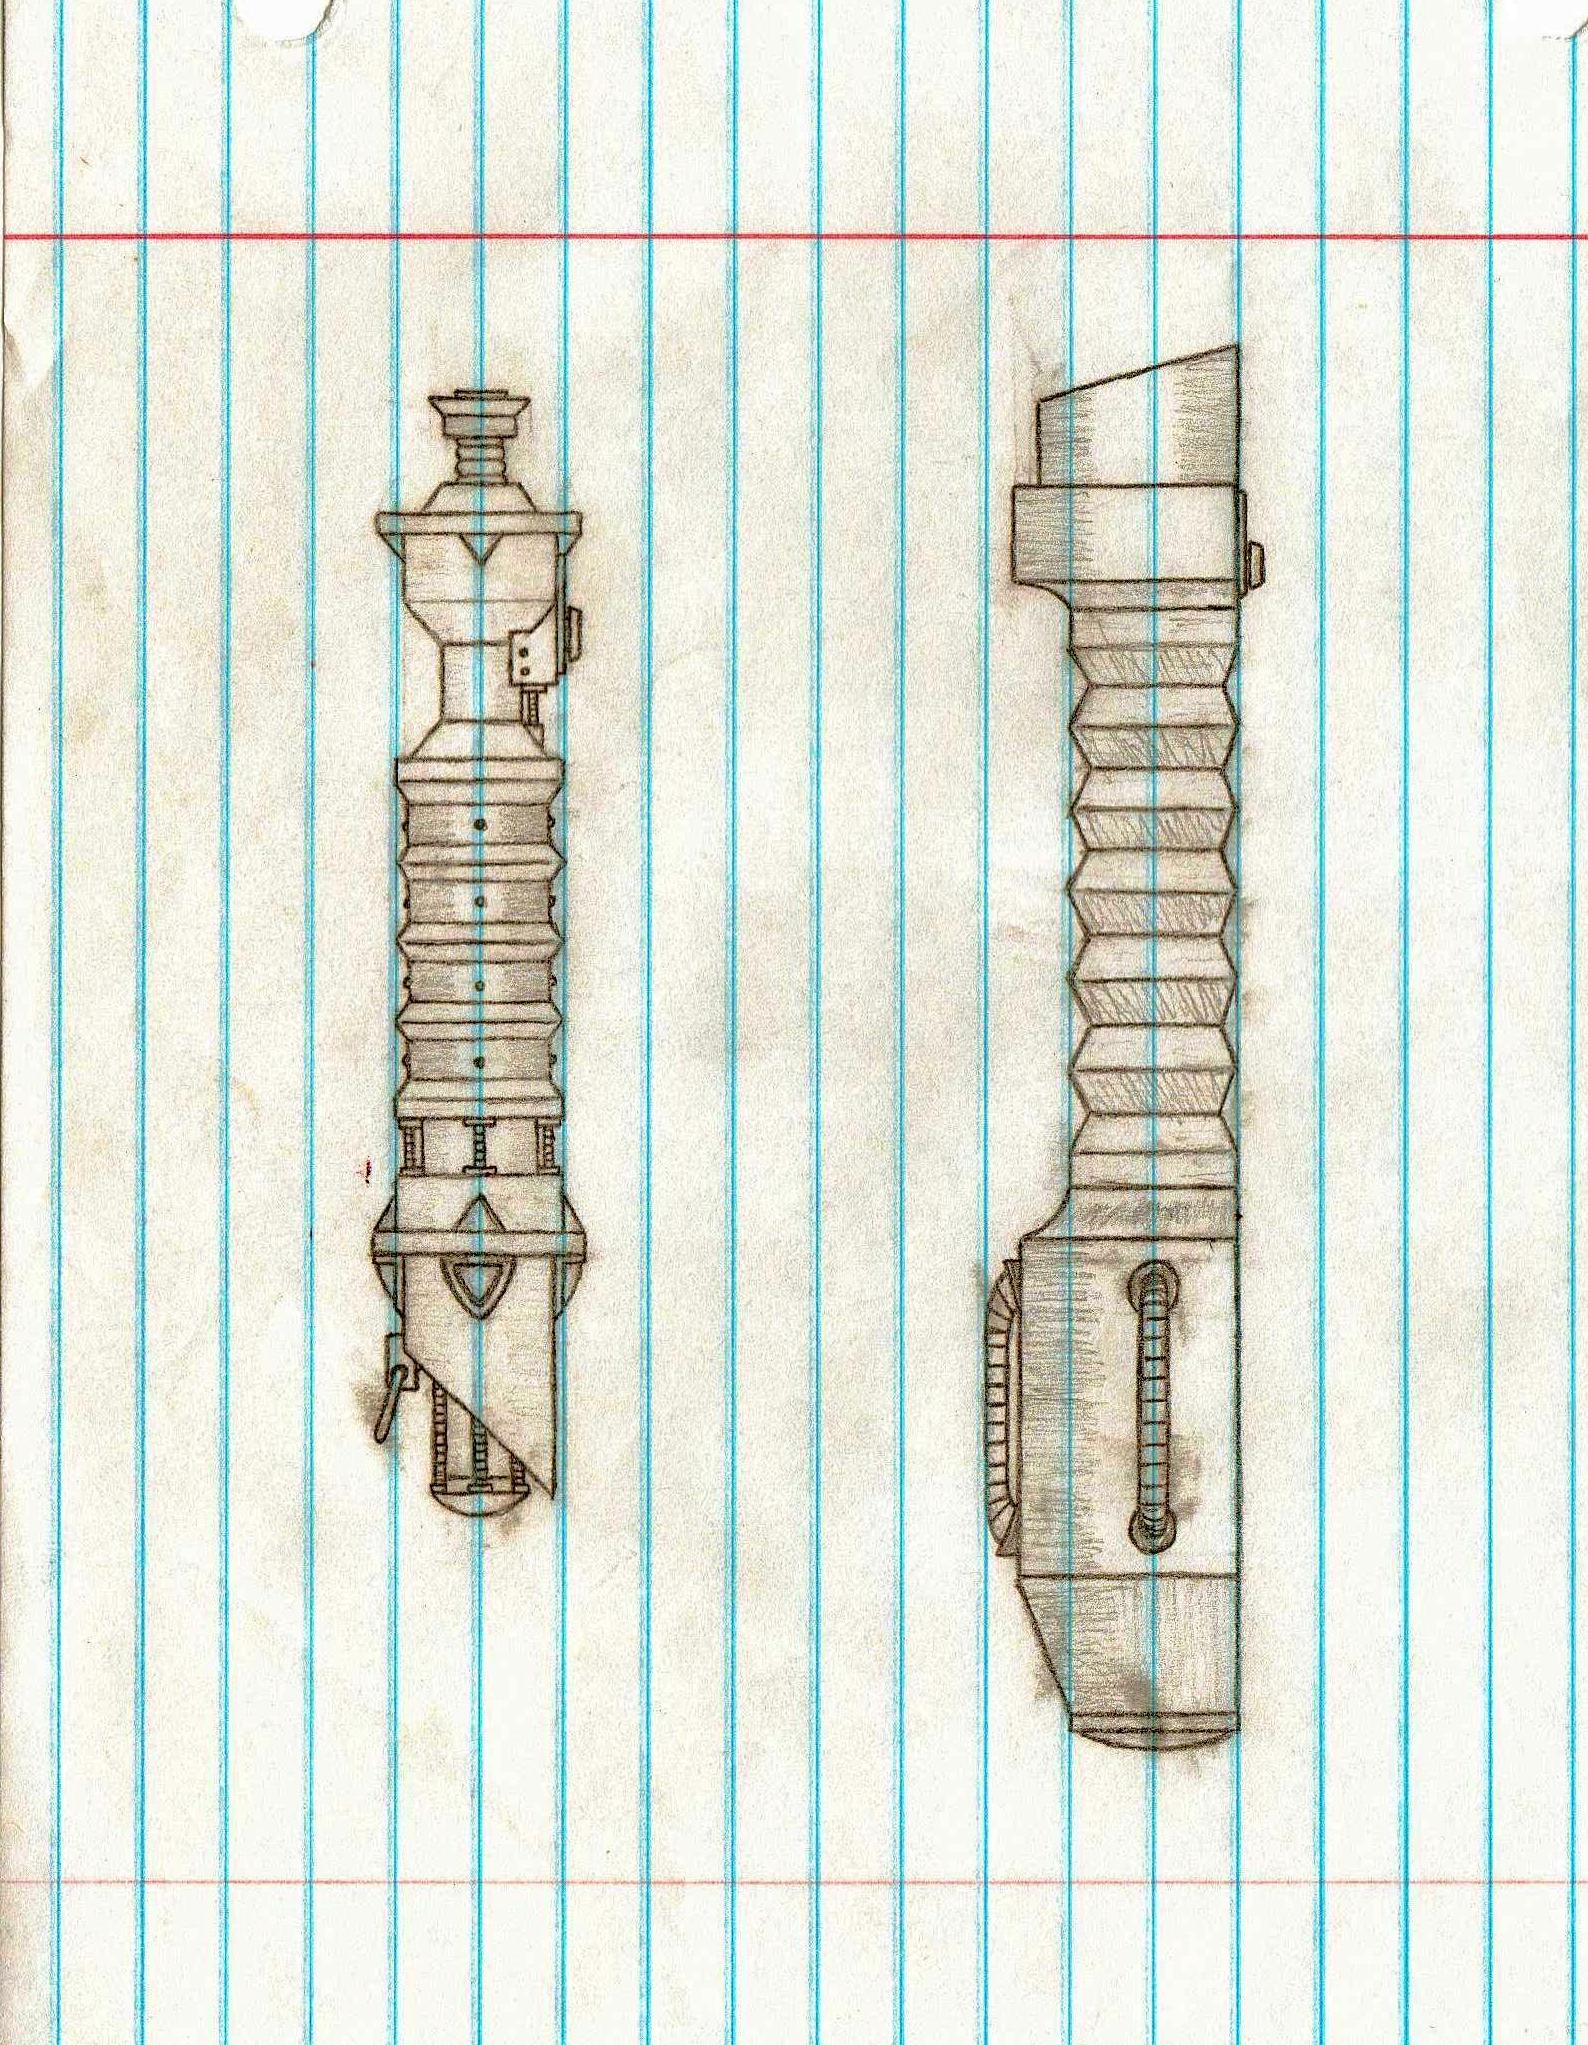
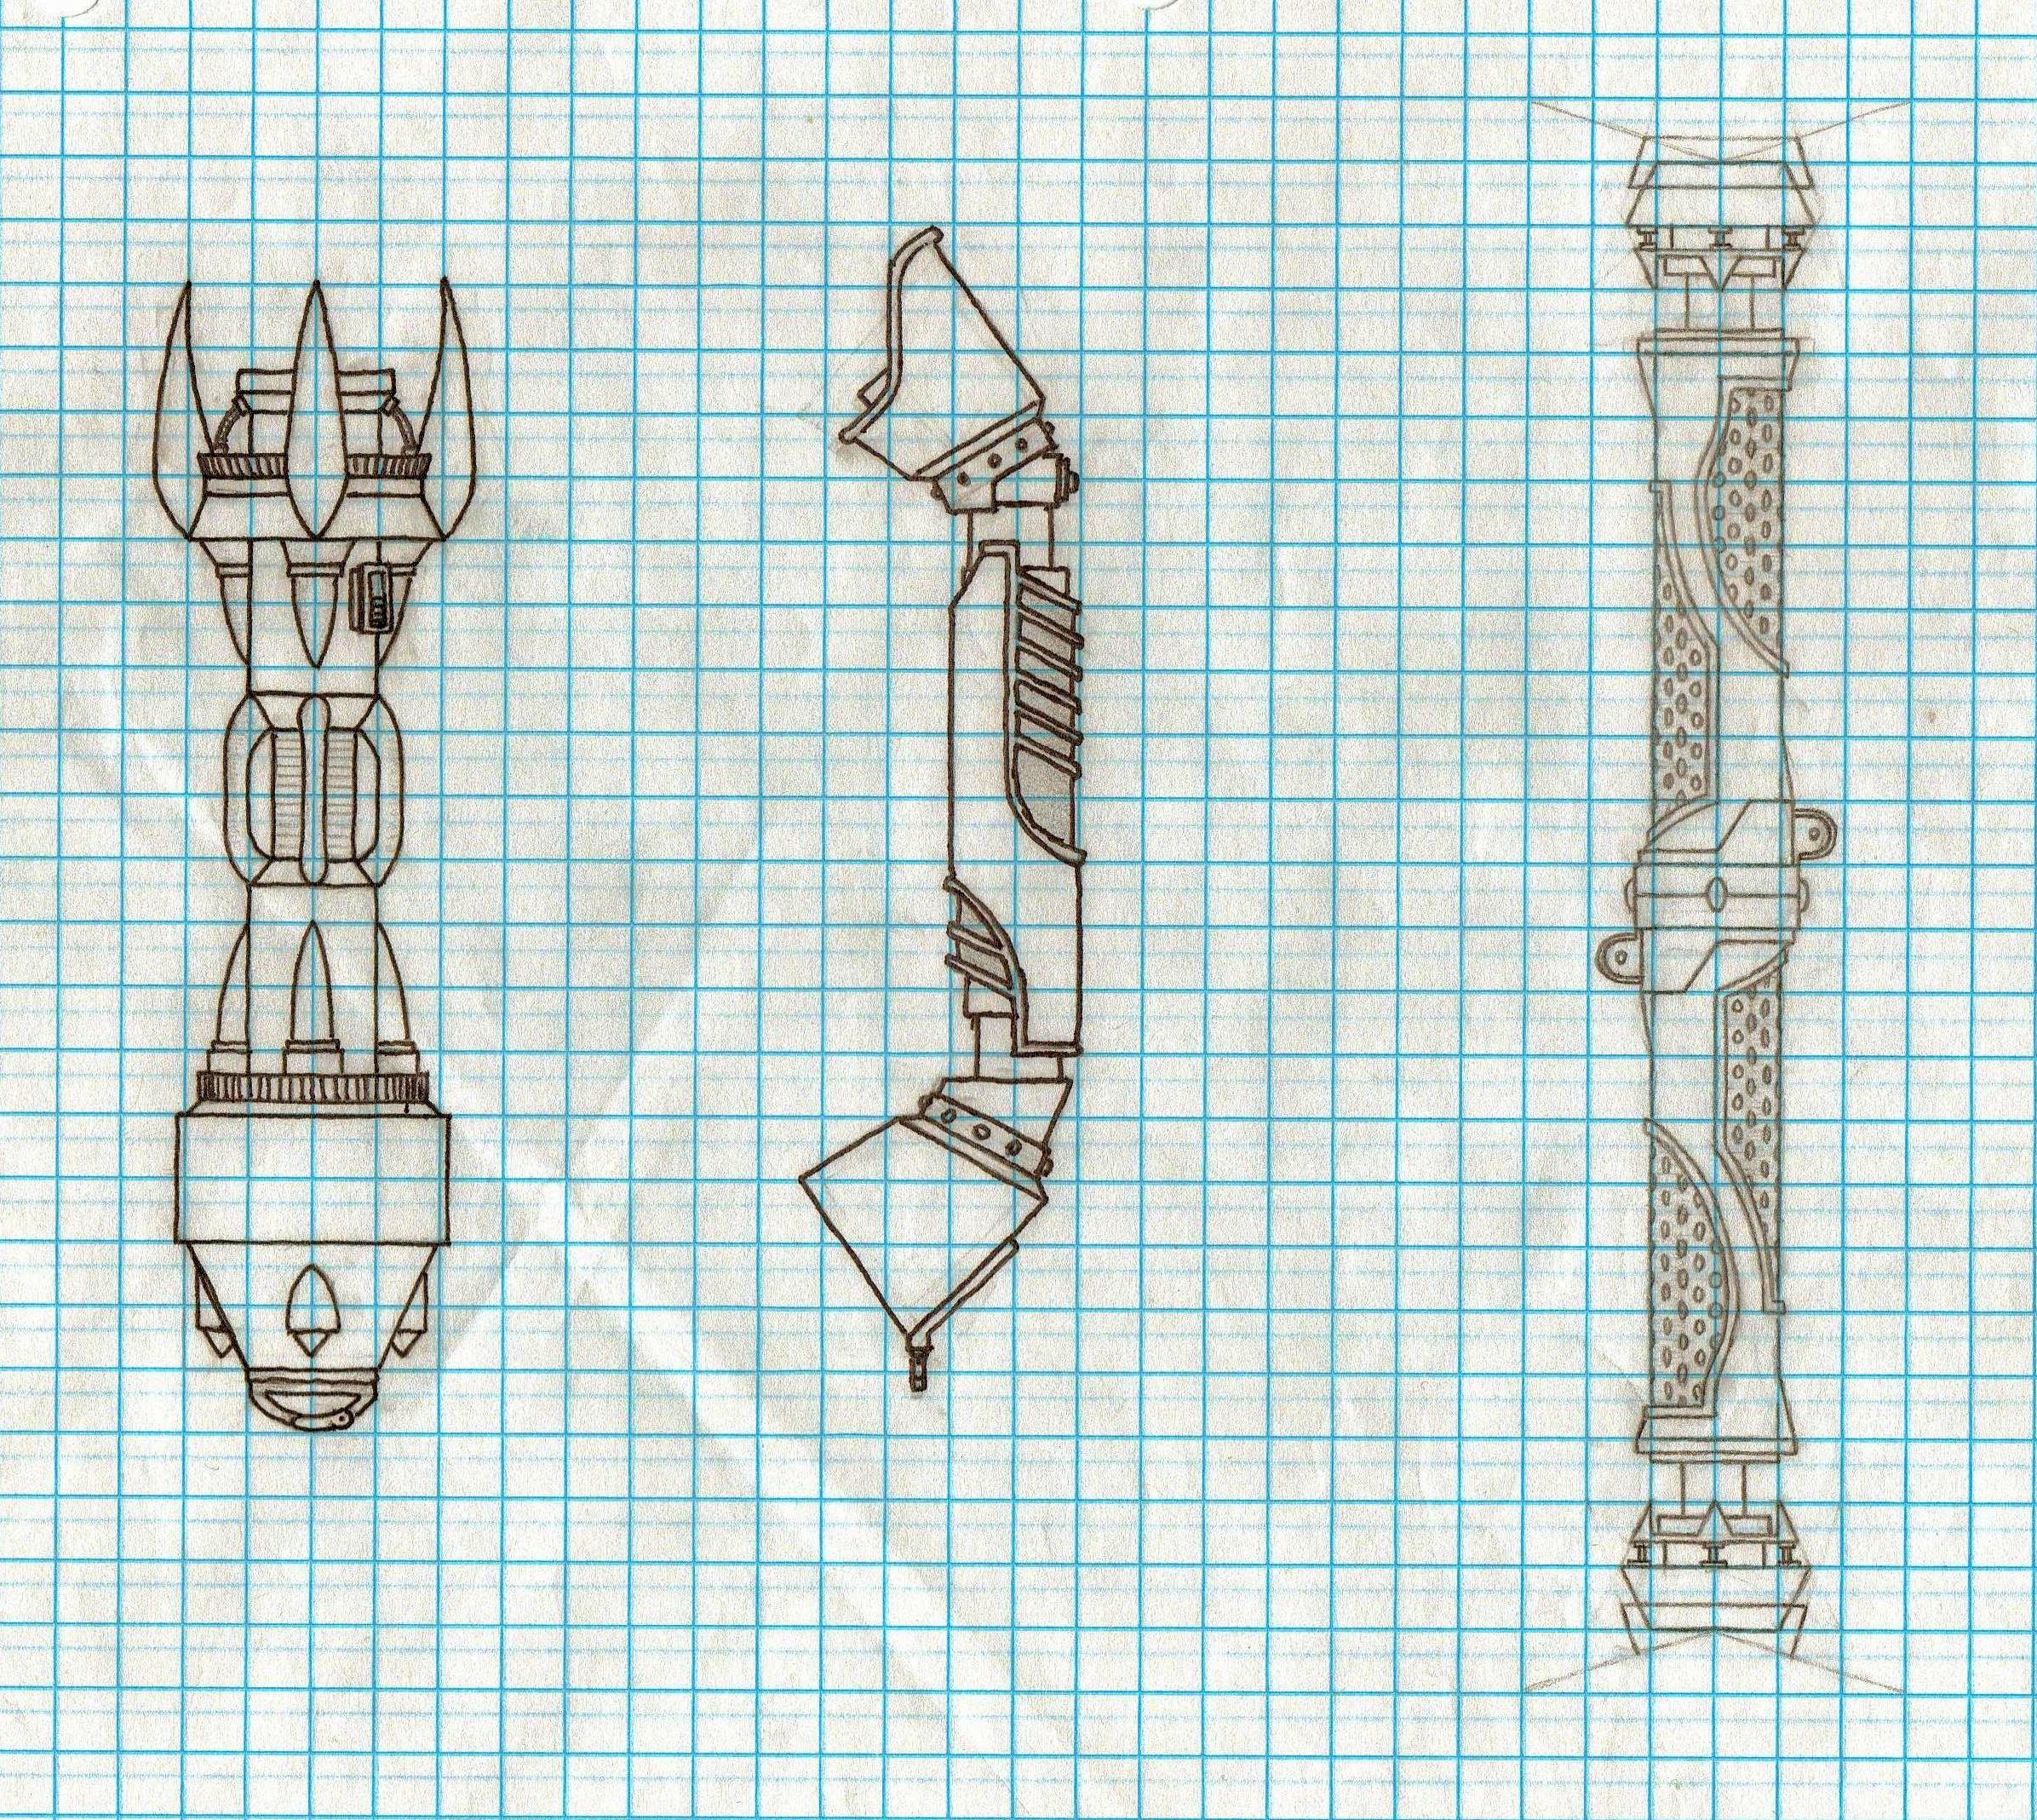
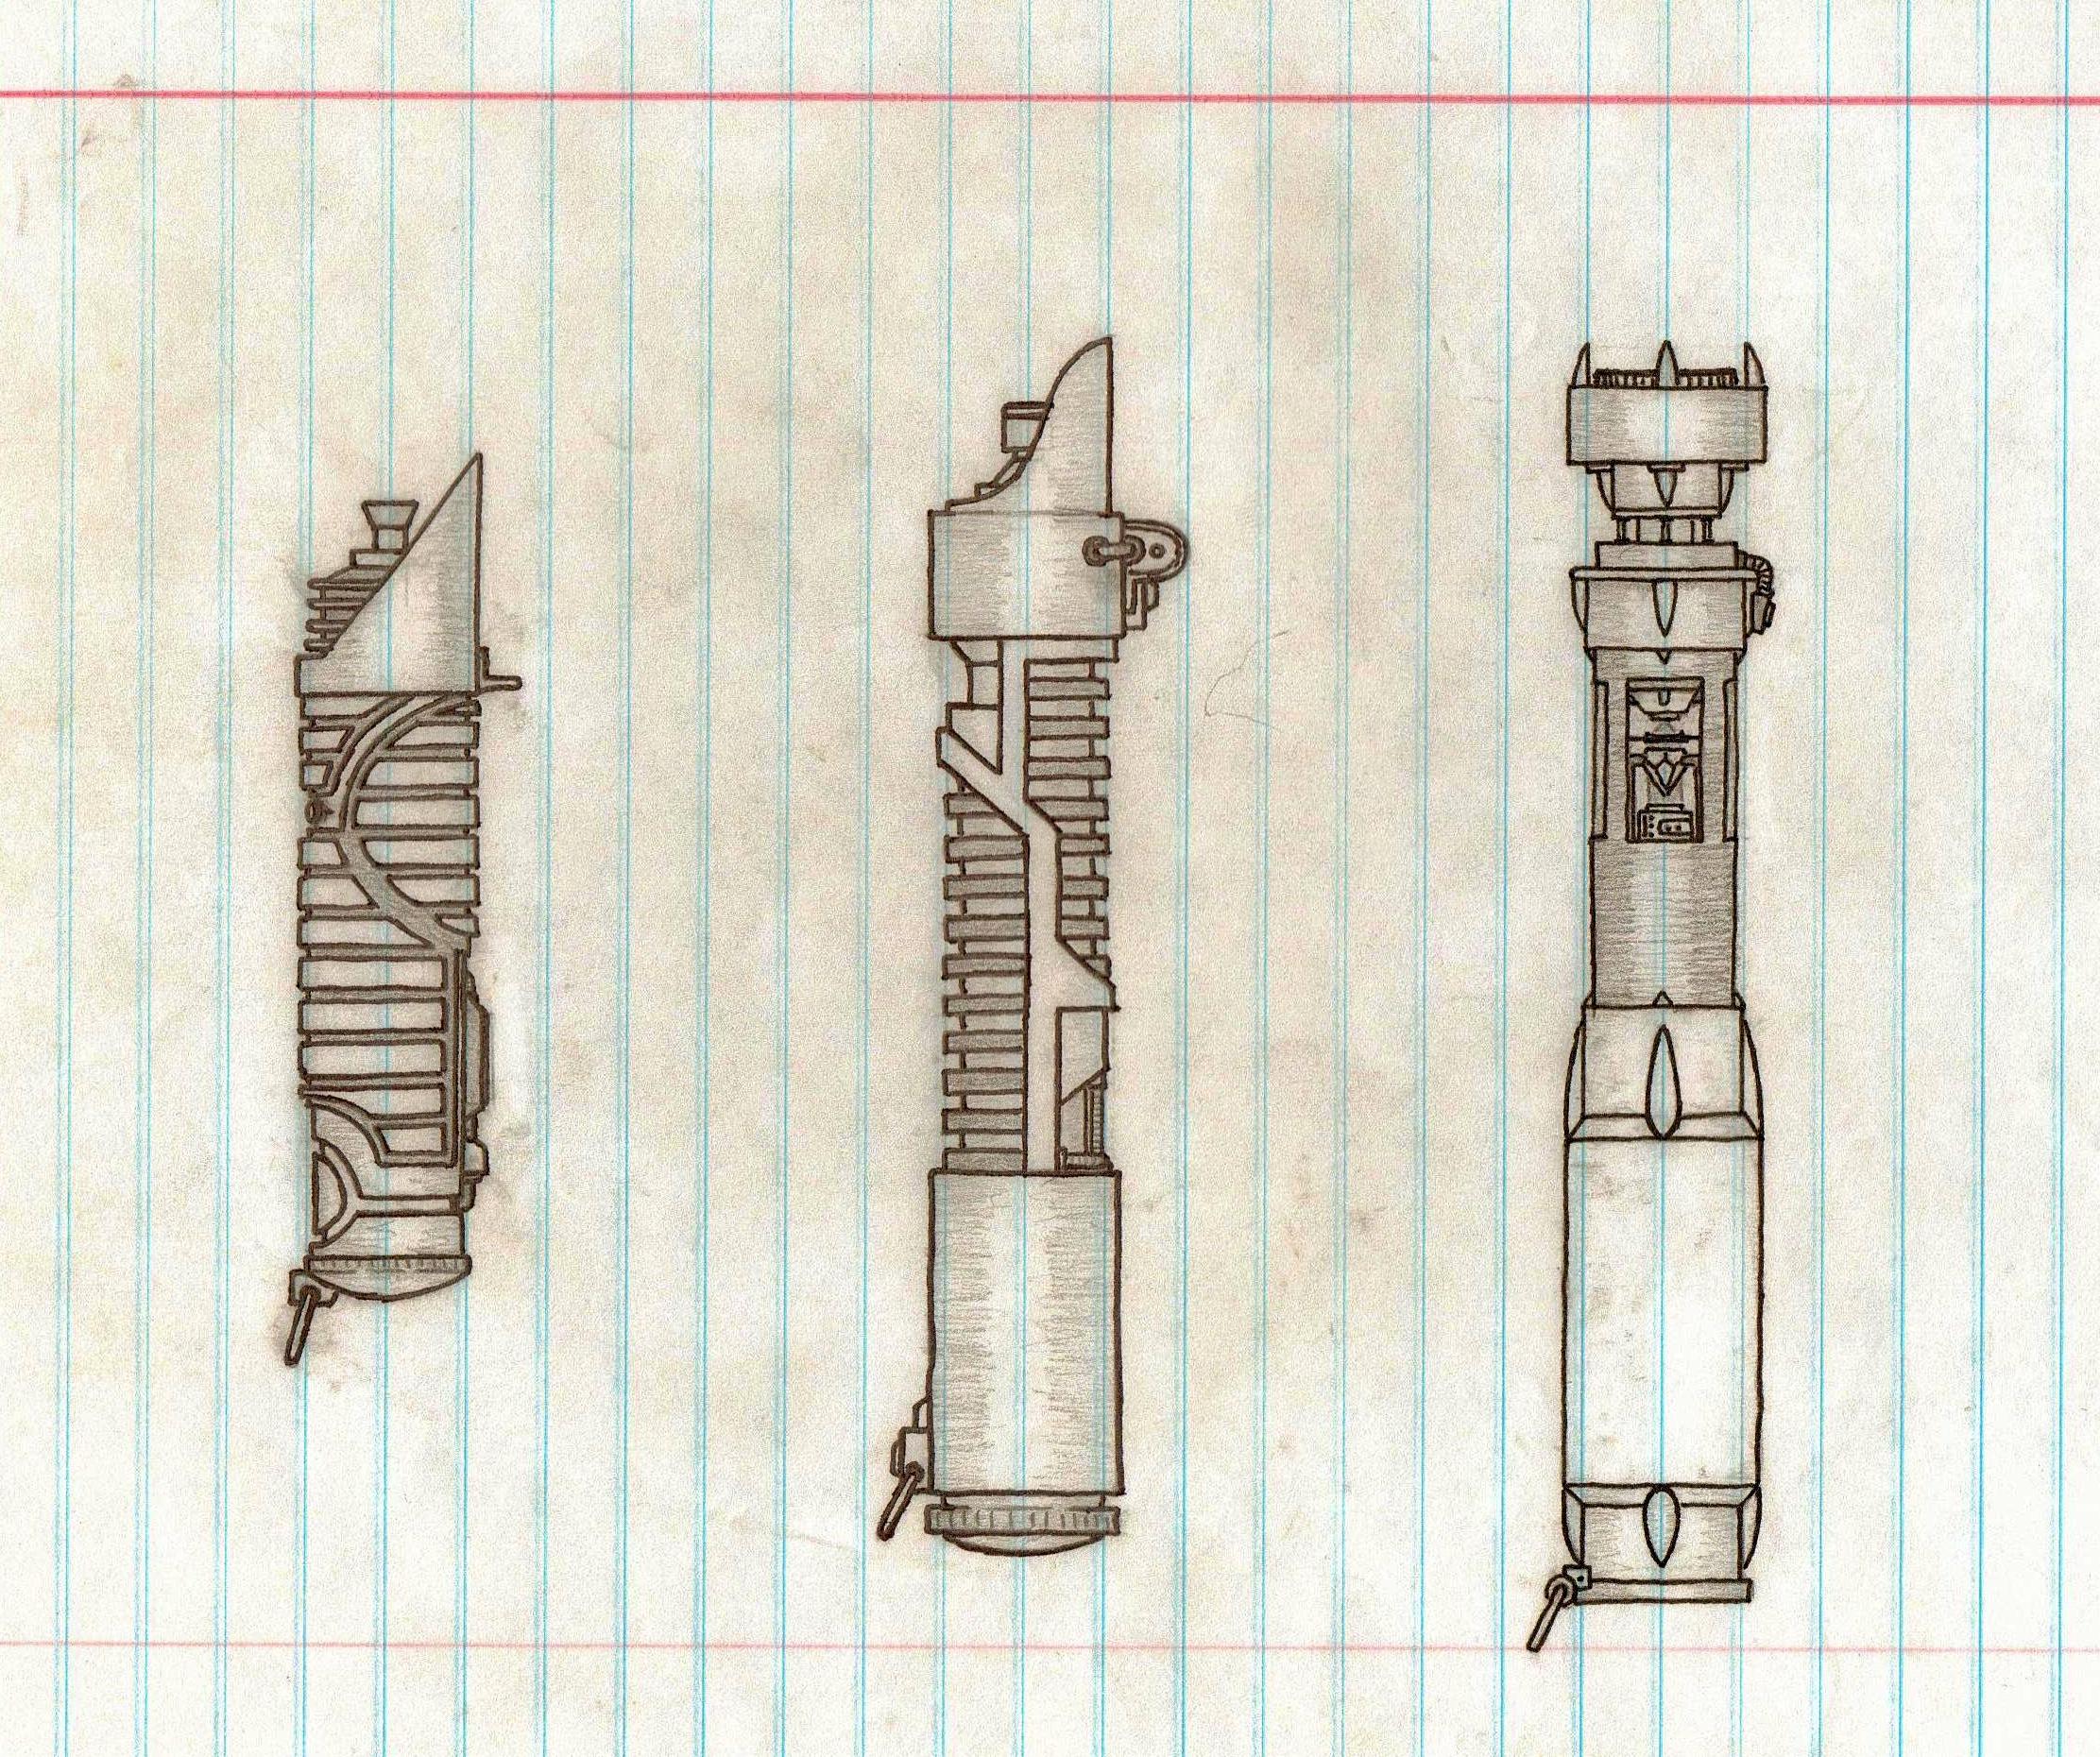
Jan 10, 2023. #1. 2-D Engineering Drawings of Darth Maul's, Obi-Wan's, and Qui-Gon's Lightsaber Hilts from the Phantom Menace. NOTE: Drawings were completed after finding incomplete drawings of these hilts online and using some educated guess work (Mechanical Engineering Degree) to fill in the gaps.

Easy Lightsaber Hilt Drawing Custom Lightsaber Drawings Page 1 Line 17qq Com / Feel free to
Drawing How to Draw a Lightsaber Unleash your inner Jedi with our step-by-step guide on how to draw a lightsaber! From the iconic hilt to the vibrant blade, master the art of sketching this legendary weapon and bring the Force to your artwork. by Arthur Lovell 11 minute read A step-by-step process of drawing a lightsaber

Lightsaber designs 2 by Grigori77 on DeviantArt Star wars concept art, Lightsaber design, Star
Step 1: The Parts All of the parts that I bought for the lightsaber I bought from three different stores and websites: Ultrasabers Custom Saber Shop Home Depot!!! Ask Question Step 2: The Parts Continued Parts That I Used For My Lightsaber Hilt 1-1/2" x 12" chrome plated brass sink tube 1.5" sink tube adapter Graflex replica red button thumb screw

Possible hilt configurations Lightsaber, Star wars light saber, Star wars images
0:00 / 15:12 • Intro How To Draw A Lightsaber From Star Wars Art for Kids Hub 7.68M subscribers Subscribe Subscribed 744 147K views 1 year ago Season 10 - Art Lessons From Art For Kids Hub.

Pin by Cameron Reinhardt on Star Wars Stuff Star wars light saber, Star wars jedi, Star wars rpg
Step 1: Making the Plans. The first step is to come up with your own design. This is what is so fun about making your own lightsaber. It is totally custom and made especially for you. Start by simply drawing up a plan. I always have drawn mine life scale and marked the lengths and colors of the different parts.
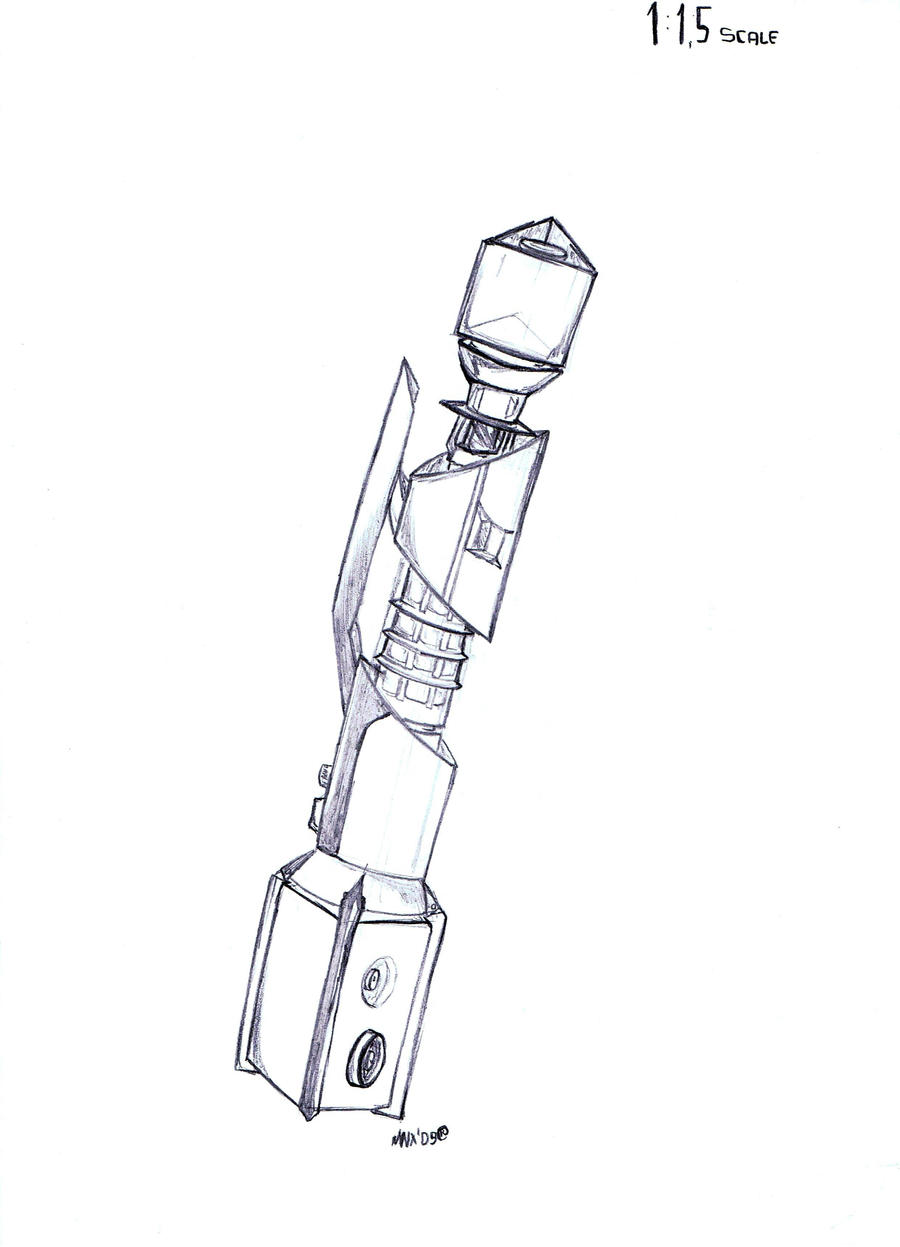
Lightsaber Hilt by Savager7 on DeviantArt
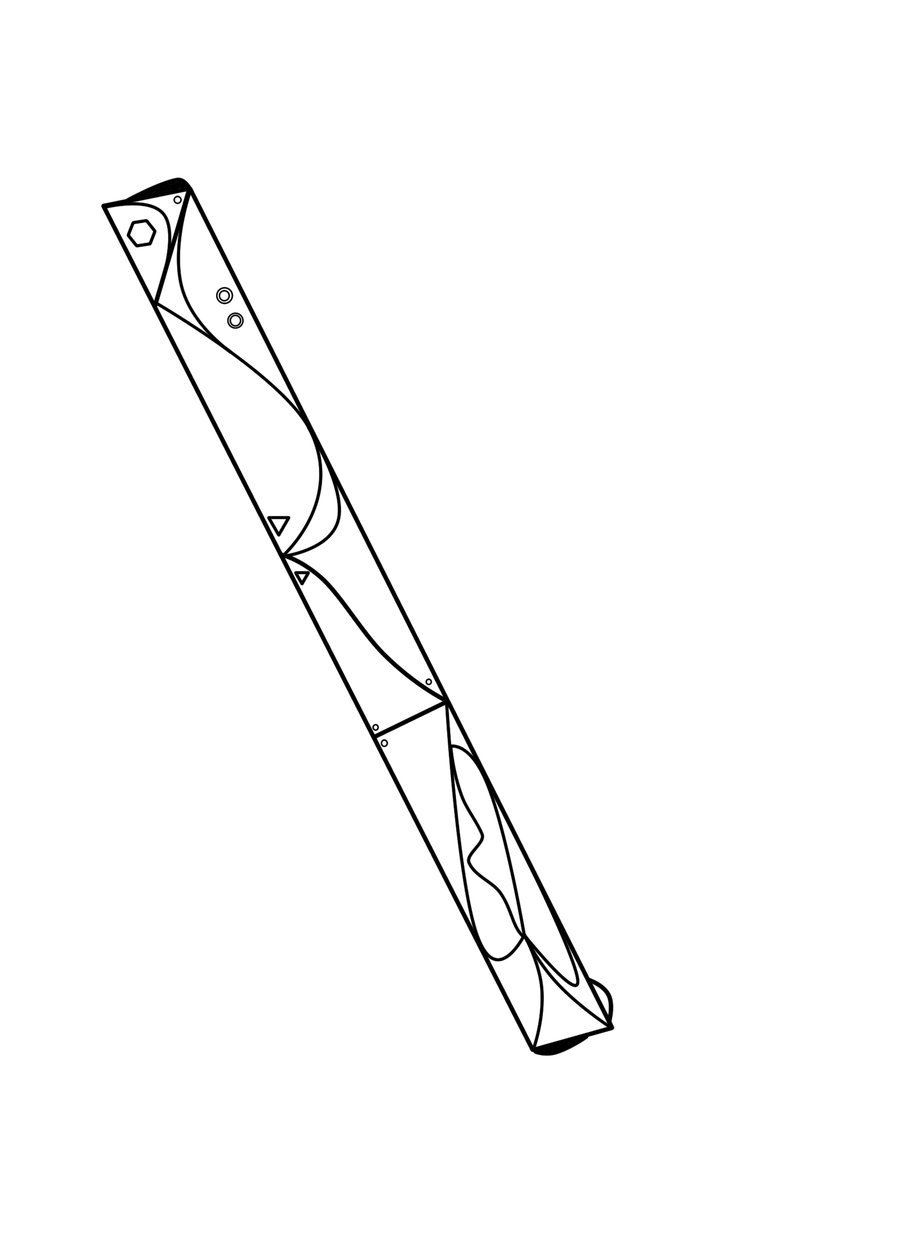
Lightsaber blueprints, schematics and technical drawings provide graphic representations of physical elements of a lightsaber hilt. Etsy search for custom saber blueprints affiliate link eBay search for Master Replicas lightsaber blueprints affiliate link What is the purpose of the graphic representations of a lightsaber?

Easy Yoda Lightsaber Drawing / How To Draw Yoda Easy Drawing Art Check out our yoda lightsaber
Back What is a Lightsaber Hilt? Your lightsaber hilt is more than just a pipe with the galaxy's most elegant weapon sticking out of one end. It is the character of your saber, and the secret to all of your combat prowess! It is covered in character and brought to life through designs, patterns, shapes, and features that define it as your own!
Lightsaber Drawing at GetDrawings Free download
To draw the hilt: 1. Draw the basic rectangular shape of the hilt The hilt is essentially a long, grey rectangle that is around 6 or 7 times longer than it is thick. After drawing the outlines of the hilt with a fine-line marker, you can color the inside of the hilt a solid light grey with a marker or colored pencil. 2.
Lightsaber Hilts 1 by moat9bass on DeviantArt
Step 1: Draw the Hilt The first step is to draw the hilt of the lightsaber. This is the metal handle that the blade will attach to. Start by drawing a curved line, then add a second, slightly shorter line next to it. Make sure to leave a gap in the middle for the blade. Next, add a few details to the hilt.

Lightsaber Design Star wars light saber, Lightsaber design, Custom lightsaber
How To Draw Lightsaber Hilts, Tutorial! (Jedi, Sith, Crossguard) - Painting With Parasolia! - YouTube Policy & Safety How YouTube works Test new features © 2022 Google LLC
Mon Calamari Legacy Lightsaber Hilt by grimdrifter on DeviantArt
A nail in a board is enough to make a jig for painting. Start with a light mist coat, wait five to ten minutes and then add another mist coat, slowly building up the paint. This will ensure a better finished product. The third or fourth coat should be sufficient. I wanted to protect the paint and used 1" vinyl tube.
Lightsaber Hilts 3 by moat9bass on DeviantArt
How to Draw a Lightsaber Start drawing the hilt of the lightsaber. For this step, I recommend that you draw two straight horizontal parallel lines. Continue drawing the hilt of the lightsaber. Connect the ends of the two previously drawn lines with curved lines. Add the decorative elements.
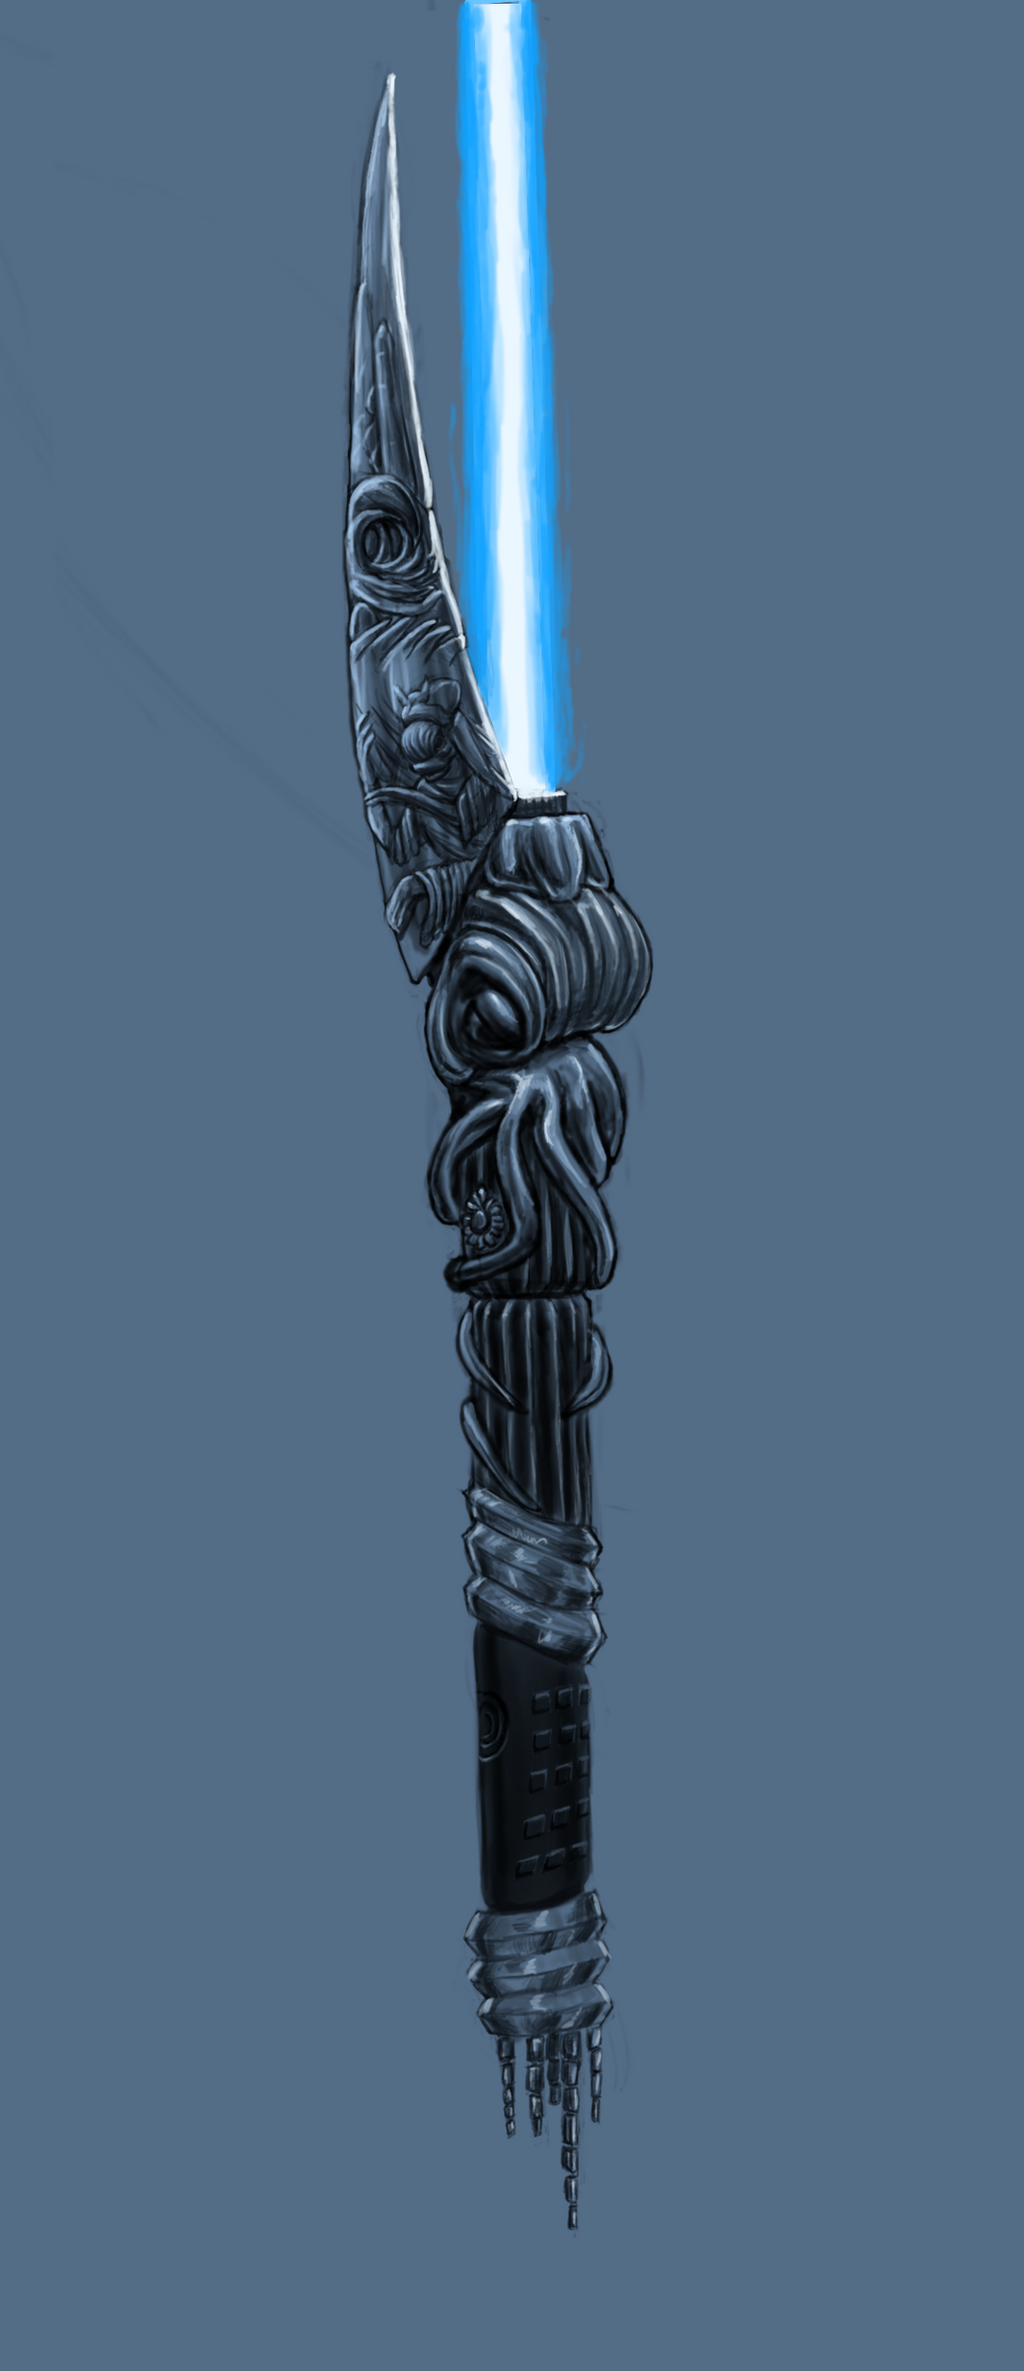
Luke's lightsaber, drawn by me with pen & ink IG nrdoggy r/StarWarsArt
Next, move to medium grit sandpaper (180-220) and then work up to a higher grit (320-400). Once sanded, spray 1 coat of filler primer on the hilt. Sand the hilt with medium-grit sandpaper (220). Repeat this process 3-4 times. If noticeable defects (lines) appear on the hilt, Stage 3 Bondo can be used to smooth them over.